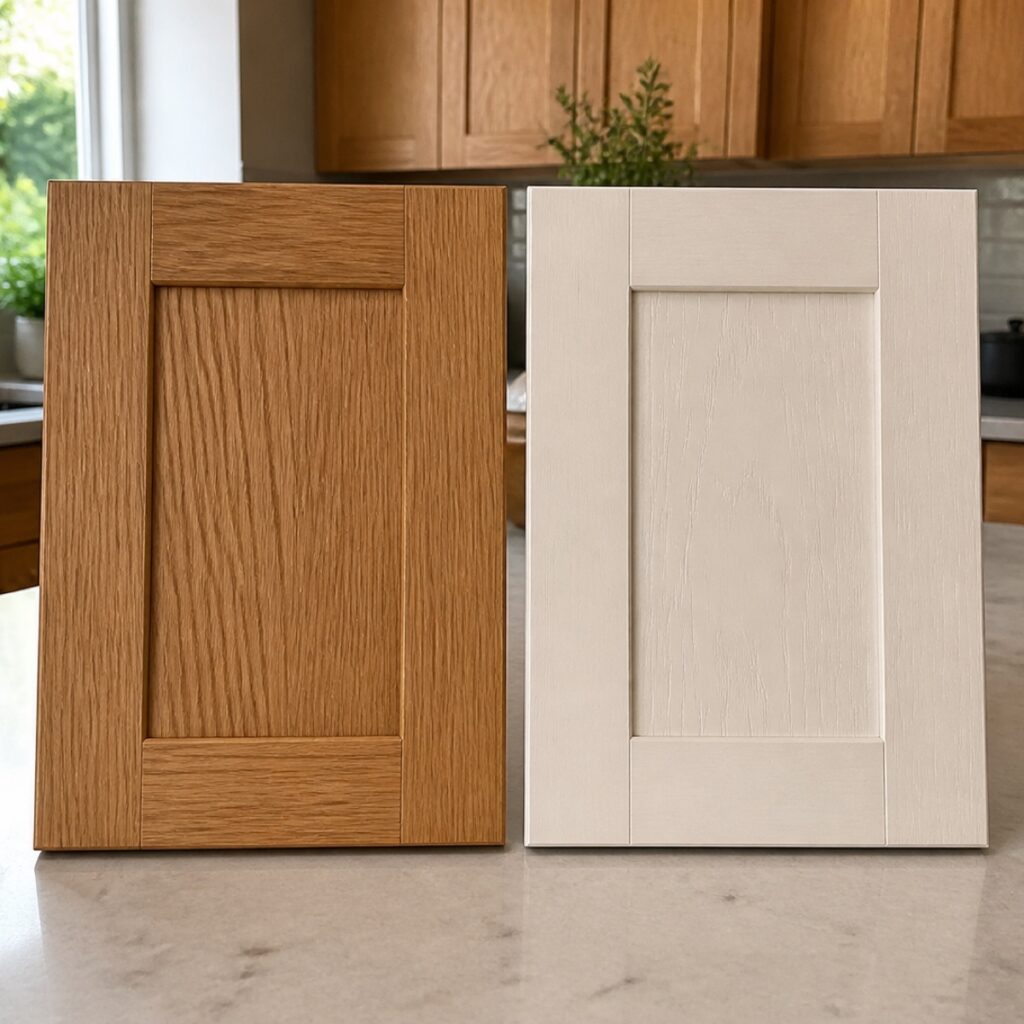
Yes, You Can Paint Over Stained Cabinets — Here’s the Right Way to Do It
Most DIY attempts fail within a year because of one skipped step. This guide breaks down the exact prep process professionals use to make paint stick to stained wood for good.
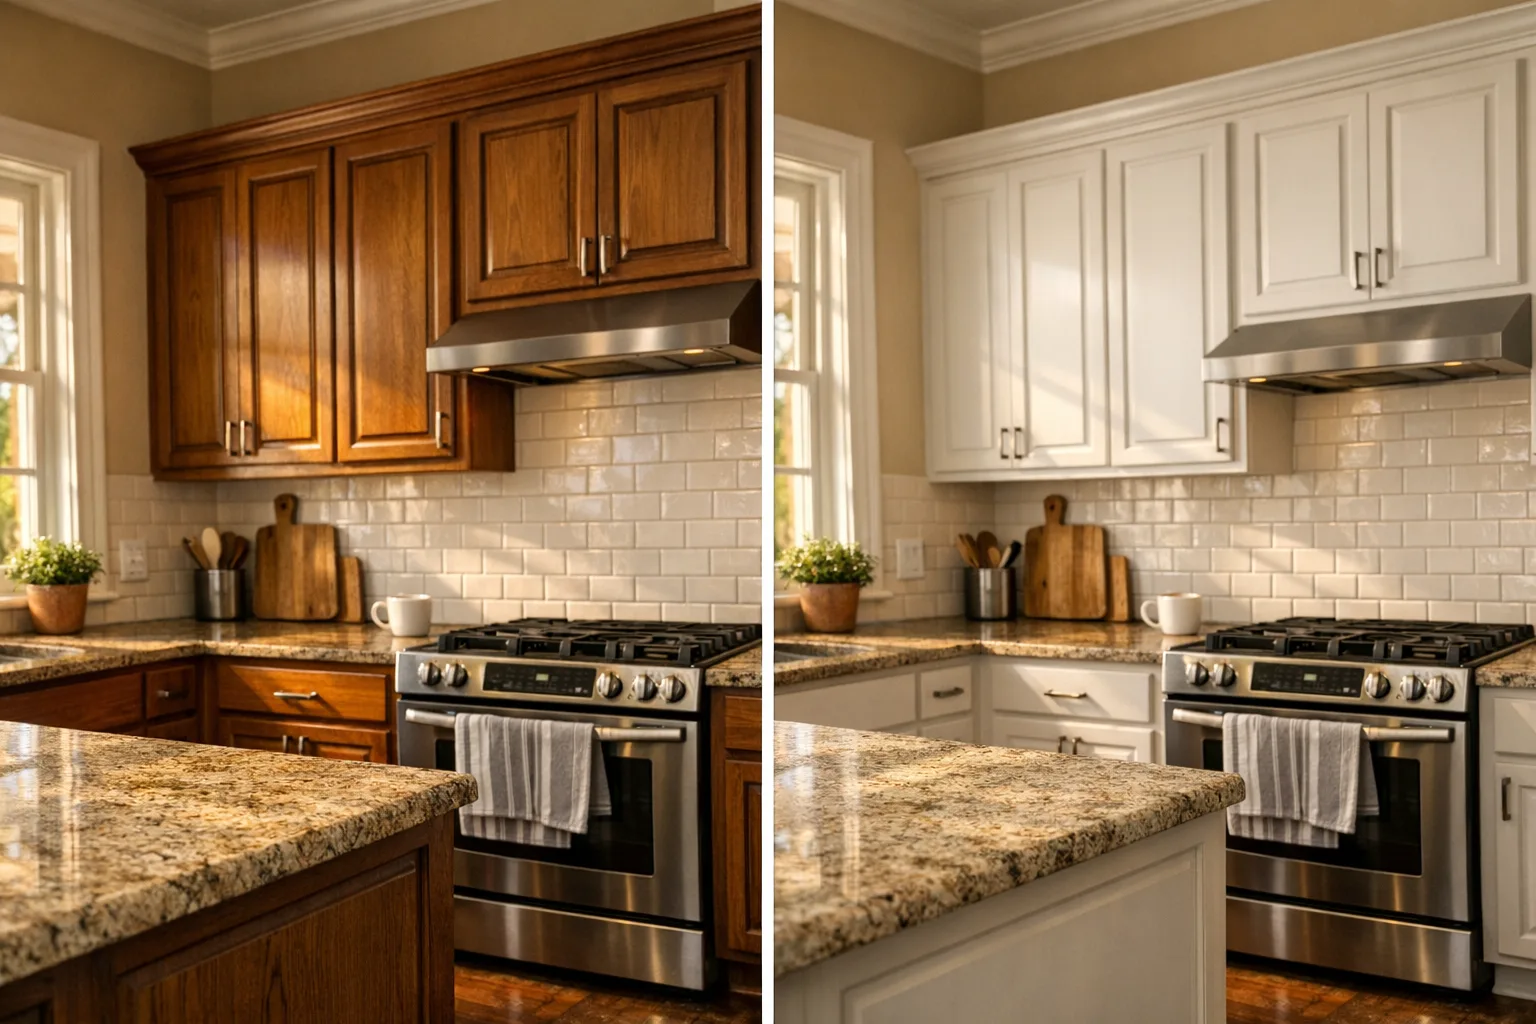
The Short Answer: Yes — But the Prep Work Is Everything
Painting over stained cabinets works. Thousands of kitchens have made the switch successfully. But a significant number of DIY attempts end up peeling, chipping, or showing bleed-through within the first year.
The difference between a finish that lasts 10 years and one that fails in 10 months comes down to a few specific prep steps. Skip them and you’ll be repainting. Follow them and you’ll have a kitchen that looks factory-fresh for years.
Here’s what’s actually happening at the surface level — and how to handle it correctly.
Why Paint Won’t Stick to Polyurethane-Coated Cabinets
Most stained cabinets aren’t just stained — they’re sealed. The stain soaks into the wood, then a clear coat (usually polyurethane or lacquer) goes on top to protect it. That clear coat is what you’re actually painting over.
Polyurethane is essentially a plastic film. Paint doesn’t bond to plastic naturally. When you roll or brush paint directly onto a poly surface, it sits on top rather than gripping in. It looks fine for a few weeks, then starts peeling at the edges, chipping near the hinges, and flaking anywhere there’s daily contact.
This is the single most common reason cabinet paint jobs fail — not bad paint, not bad technique, just painting over a surface that wasn’t properly prepared to receive it.
Combination paint-and-primer products are fine for drywall. They are not designed to bond to polyurethane or lacquer finishes. On cabinets, they behave the same as regular paint — they peel. You need a dedicated adhesion primer applied as a separate step.
Know Your Finish First: Gel Stain vs. Penetrating Stain vs. Lacquer
Not all stained cabinets are the same. What’s on your cabinets determines how much prep work you need.
| Finish Type | What It Looks Like | Prep Required | Bleed-Through Risk |
|---|---|---|---|
| Penetrating stain + polyurethane | Wood grain visible, slight sheen | Scuff-sand + shellac primer | Medium–High (depends on color) |
| Gel stain | Opaque color, sits on surface | Thorough scuff-sand + bonding primer | Low–Medium |
| Lacquer finish | Very smooth, almost plastic-like | Aggressive scuff-sand + shellac primer | Low (but adhesion is harder) |
| Oil-based stain + varnish | Warm tone, matte to semi-gloss | Scuff-sand + shellac primer | High (oil tannins bleed easily) |
| Factory-applied catalyzed finish | Uniform, extremely hard surface | Aggressive scuff-sand + shellac primer | Low (but hardest to bond to) |
If you’re not sure what’s on your cabinets, assume polyurethane over an oil-based stain and prep accordingly. That’s the safest default.
The Scuff-Sand Process: Breaking the Poly Sheen
You don’t need to sand the stain off. You don’t even need to sand through the clear coat. You just need to rough up the surface enough for primer to grip — that’s called scuff-sanding or mechanical deglossing.
Here’s how it works in practice:
The Scuff-Sand Process (Step by Step)
- Clean first. Degrease every surface with a TSP substitute or quality degreaser. Kitchen cabinets have grease buildup that will prevent adhesion just as much as poly will. In Houston kitchens, especially near the range, this step is critical.
- Sand with 150-grit. Use a sanding sponge or random orbital sander with 150-grit paper. Work with the grain. You’re aiming for a dull, slightly chalky surface — no more sheen.
- Check your work. Run your finger across the surface. If it still feels slick or squeaks like glass, keep sanding. If it feels slightly rough and matte, you’re ready.
- Wipe down completely. Use a tack cloth or damp microfiber to remove all sanding dust. Dust trapped under primer causes texture and adhesion problems.
- Prime within a few hours. Once you’ve broken the sheen, don’t leave the surface sitting for days. Prime it promptly.
Liquid deglosser (like Wilbond or similar products) is often marketed as a no-sand solution. It does chemically etch the surface, and it can work on lighter finishes. But on cabinets — surfaces that deal with daily grease, moisture, and impact — it’s not reliable enough long-term. Professional finishers use mechanical sanding as the foundation and may add chemical deglosser as a supplement, never as a replacement.
Primer Comparison: BIN Shellac vs. Stix vs. Kilz Adhesion
Choosing the right primer is the most important product decision in this whole project. Here’s how the main options stack up.