The Cabinet Painting Process, Day by Day: What Actually Happens in Your Kitchen
This guide follows the stages of a cabinet painting project. The actual working days, kitchen access, and cure instructions are confirmed for your scope; the stage labels below are not a promised calendar.
What Most Homeowners Don’t Expect About the Cabinet Painting Timeline
Cabinet finishing involves assessment, preparation, compatible coatings, and reinstallation. Understanding those stages helps you compare the scope and plan household access.
The schedule is confirmed after the cabinet condition, preparation, selected finish, material availability, and connected work are reviewed. Ask which stages limit kitchen access and what care is required before the coating fully cures.
Stage 1: The Demo and Labeling System That Keeps Everything Organized
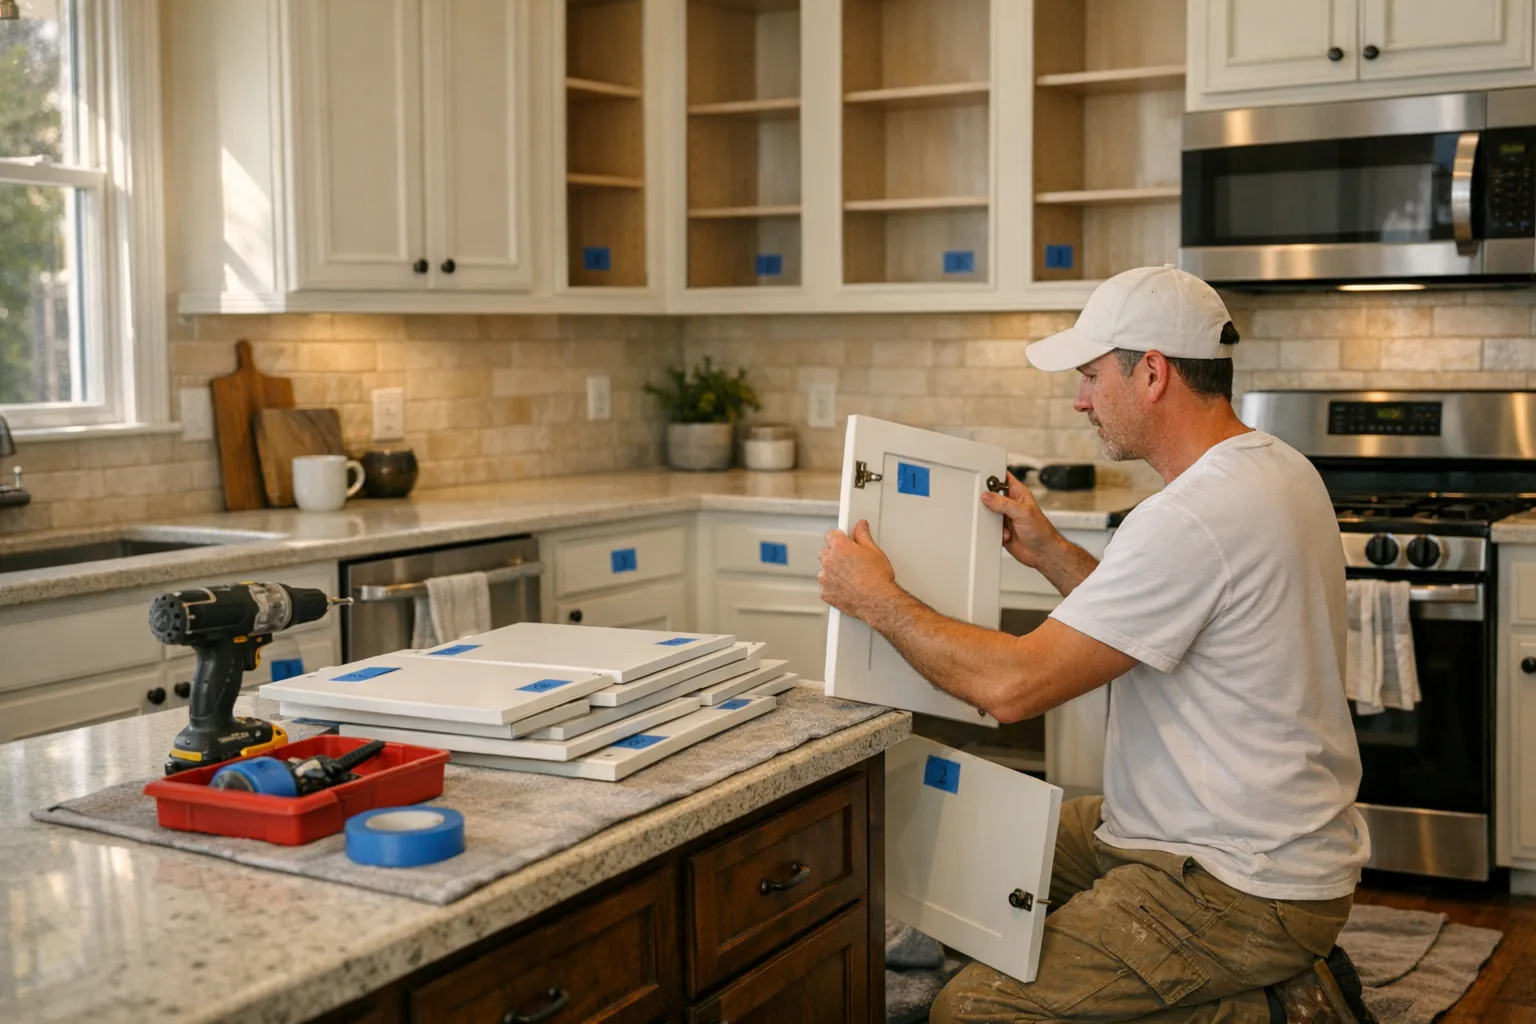
The first day is all about removal — and precision. Before a single door comes off its hinges, every piece gets a numbered label.
We put a label on the door and a matching label inside the cabinet opening. Door 1 goes back to opening 1. Every time. This sounds obvious, but it’s the kind of step that gets skipped on rushed jobs — and it’s exactly how you end up with misaligned doors or a 12-inch panel reinstalled where a 15-inch one belongs.
Here’s what comes off the cabinets on Stage 1:
- All doors and drawer fronts (taken off-site for spraying)
- All hardware — hinges, pulls, knobs
- Any light rail molding or decorative trim that needs painting
The cabinet frames — the boxes attached to your walls — stay in place the entire project. Those get painted on-site.
Doors and drawer fronts are finished off-site under controlled shop conditions. Frames are prepared and finished in the home. Protection, coating compatibility, and application conditions are reviewed for the project.
Stage 2: Surface Prep — The Stage That Determines How Long the Finish Lasts
Preparation affects adhesion and finish quality. The existing coating, contamination, surface damage, and selected system determine the preparation steps.
TSP Cleaning
Every surface gets scrubbed with a TSP (trisodium phosphate) solution. TSP strips grease, cooking oils, and residue that regular cleaners leave behind. If you skip this step and paint over a greasy surface, the coating will eventually delaminate — no matter how good the paint is.
150-Grit Sanding
After cleaning, every surface gets sanded with 150-grit. This de-glosses the existing finish and gives the primer something to bite into. Without mechanical adhesion, you’re relying entirely on chemistry — and that’s not enough on high-use kitchen surfaces.
Grain Filling (When Needed)
Open-grain woods like oak have visible pores in the surface. If you paint straight over them, you can still see the grain texture through the finish. For homeowners who want a smooth, painted look, we apply a grain filler before priming. This is especially common in older Houston homes in neighborhoods like Meyerland and Bellaire where oak cabinets were standard in the 1990s.
Bonding Primer
Primer and topcoat selection, coat count, drying intervals, and application follow the selected coating system and the condition of the surfaces.
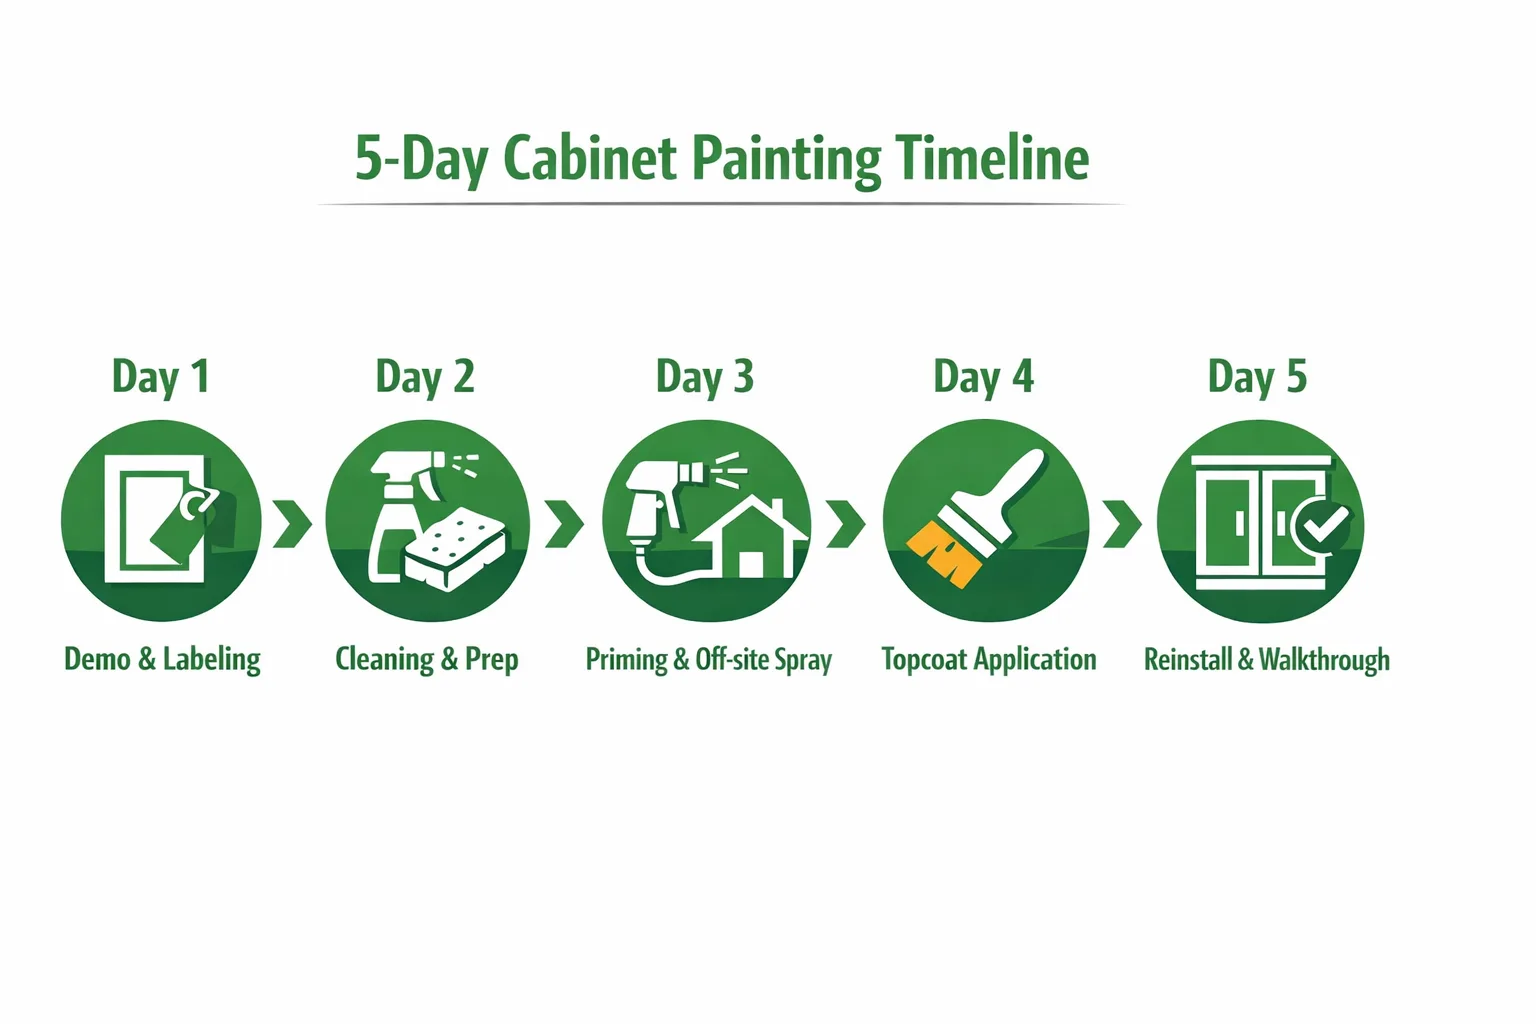
Days 3–4: Off-Site Spraying vs. On-Site Work — What’s Happening and Where
While the doors are at our facility getting sprayed, the crew continues on-site work on your cabinet frames.
Off-Site (Doors & Drawer Fronts)
- Controlled shop application
- Air Assisted Airless sprayer
- Consistent temperature and humidity
- 2 coats pigmented polyurethane topcoat
- Near factory-quality finish
On-Site (Cabinet Frames)
- Sprayed with careful masking & protection
- Counters, appliances, and floors covered
- Same primer and topcoat system used
- Sink and fridge remain accessible
- Work done in stages to minimize disruption
The Paint We Use — and Why It Matters
We use Renner Italia Wood Coatings — an industrial-grade, water-based pigmented polyurethane system built specifically for kitchen cabinetry.
This is not hardware store paint. The difference matters in ways you’ll feel every day.
Sheen options are Satin (30 sheen — our most popular) or Matte (10 sheen). Both are available in any color.
How We Protect Your Kitchen During the Project
Your kitchen stays functional the entire project. Here’s how we keep it that way.
- Countertops get covered with plastic sheeting and paper before any spraying
- Appliances stay in place and stay covered when not in use
Want to See the Process in Your Kitchen?
We offer free in-home estimates across the Houston metro. We’ll count your doors, assess your cabinet material, and give you a clear timeline before any work begins.
Get My Free Estimate Text Us NowFrequently Asked Questions
How many days does cabinet painting take?
The schedule is confirmed after the cabinet condition, preparation, selected finish, material availability, and connected work are reviewed. Ask which stages limit kitchen access and what care is required before the coating fully cures.
Can I use my kitchen while cabinets are being painted?
Yes, but with limitations. Your appliances stay in place, your sink works, and your fridge is accessible the entire time. What you lose is counter space (it gets covered with plastic) and cabinet access during active work hours. Most homeowners rely on the microwave and fridge and treat it like a light camping week.
Do you paint cabinet doors in my house?
Doors and drawer fronts are removed for off-site finishing as part of the agreed sequence. Frames remain in the home. We review access and surface protection before work begins.
What kind of paint is used on kitchen cabinets?
We use Renner Italia Wood Coatings — an industrial-grade, water-based pigmented polyurethane system built specifically for kitchen cabinetry. It’s far more durable than standard latex or chalk paint, which both stay soft and dent easily. Renner Italia cures hard and is designed for high-touch surfaces that get cleaned repeatedly.
Do I need to empty my cabinets before painting?
Ask which cabinets and surfaces must be cleared before work begins. Your preparation instructions depend on the agreed scope; move small appliances and personal items from the work areas as directed.
How soon can I put things back after painting?
After reinstallation, follow the project-specific instructions for gentle use and cleaning. A coating can be dry enough to handle before it has fully cured; cure time depends on the system and conditions.
What is the door labeling system and why does it matter?
Every door and drawer front gets a numbered label before it’s removed — matched to a corresponding label inside the cabinet opening. This ensures each piece goes back in its exact original position. It sounds simple, but skipping this step is how cabinets end up with misaligned doors or wrong-sized panels in the wrong spots.